SleekTech has a new guided, full-page New Property wizard for adding properties. One flow handles everything: a Standalone Property (like a house), a whole Building with all its units, a single Unit, or adding new units to a building you already have. You can even let the AI fill most of it in from a brochure, listing or spreadsheet. This article walks through the whole process.
Opening the New Property wizard
- Go to the Properties screen.
- Click New Property. The wizard opens in its own tab, with a progress rail down the left showing every step.
- Move through with Next and Back. Nothing is saved until the final Create property — so it's safe to explore.
Step 1 — Choose the property type
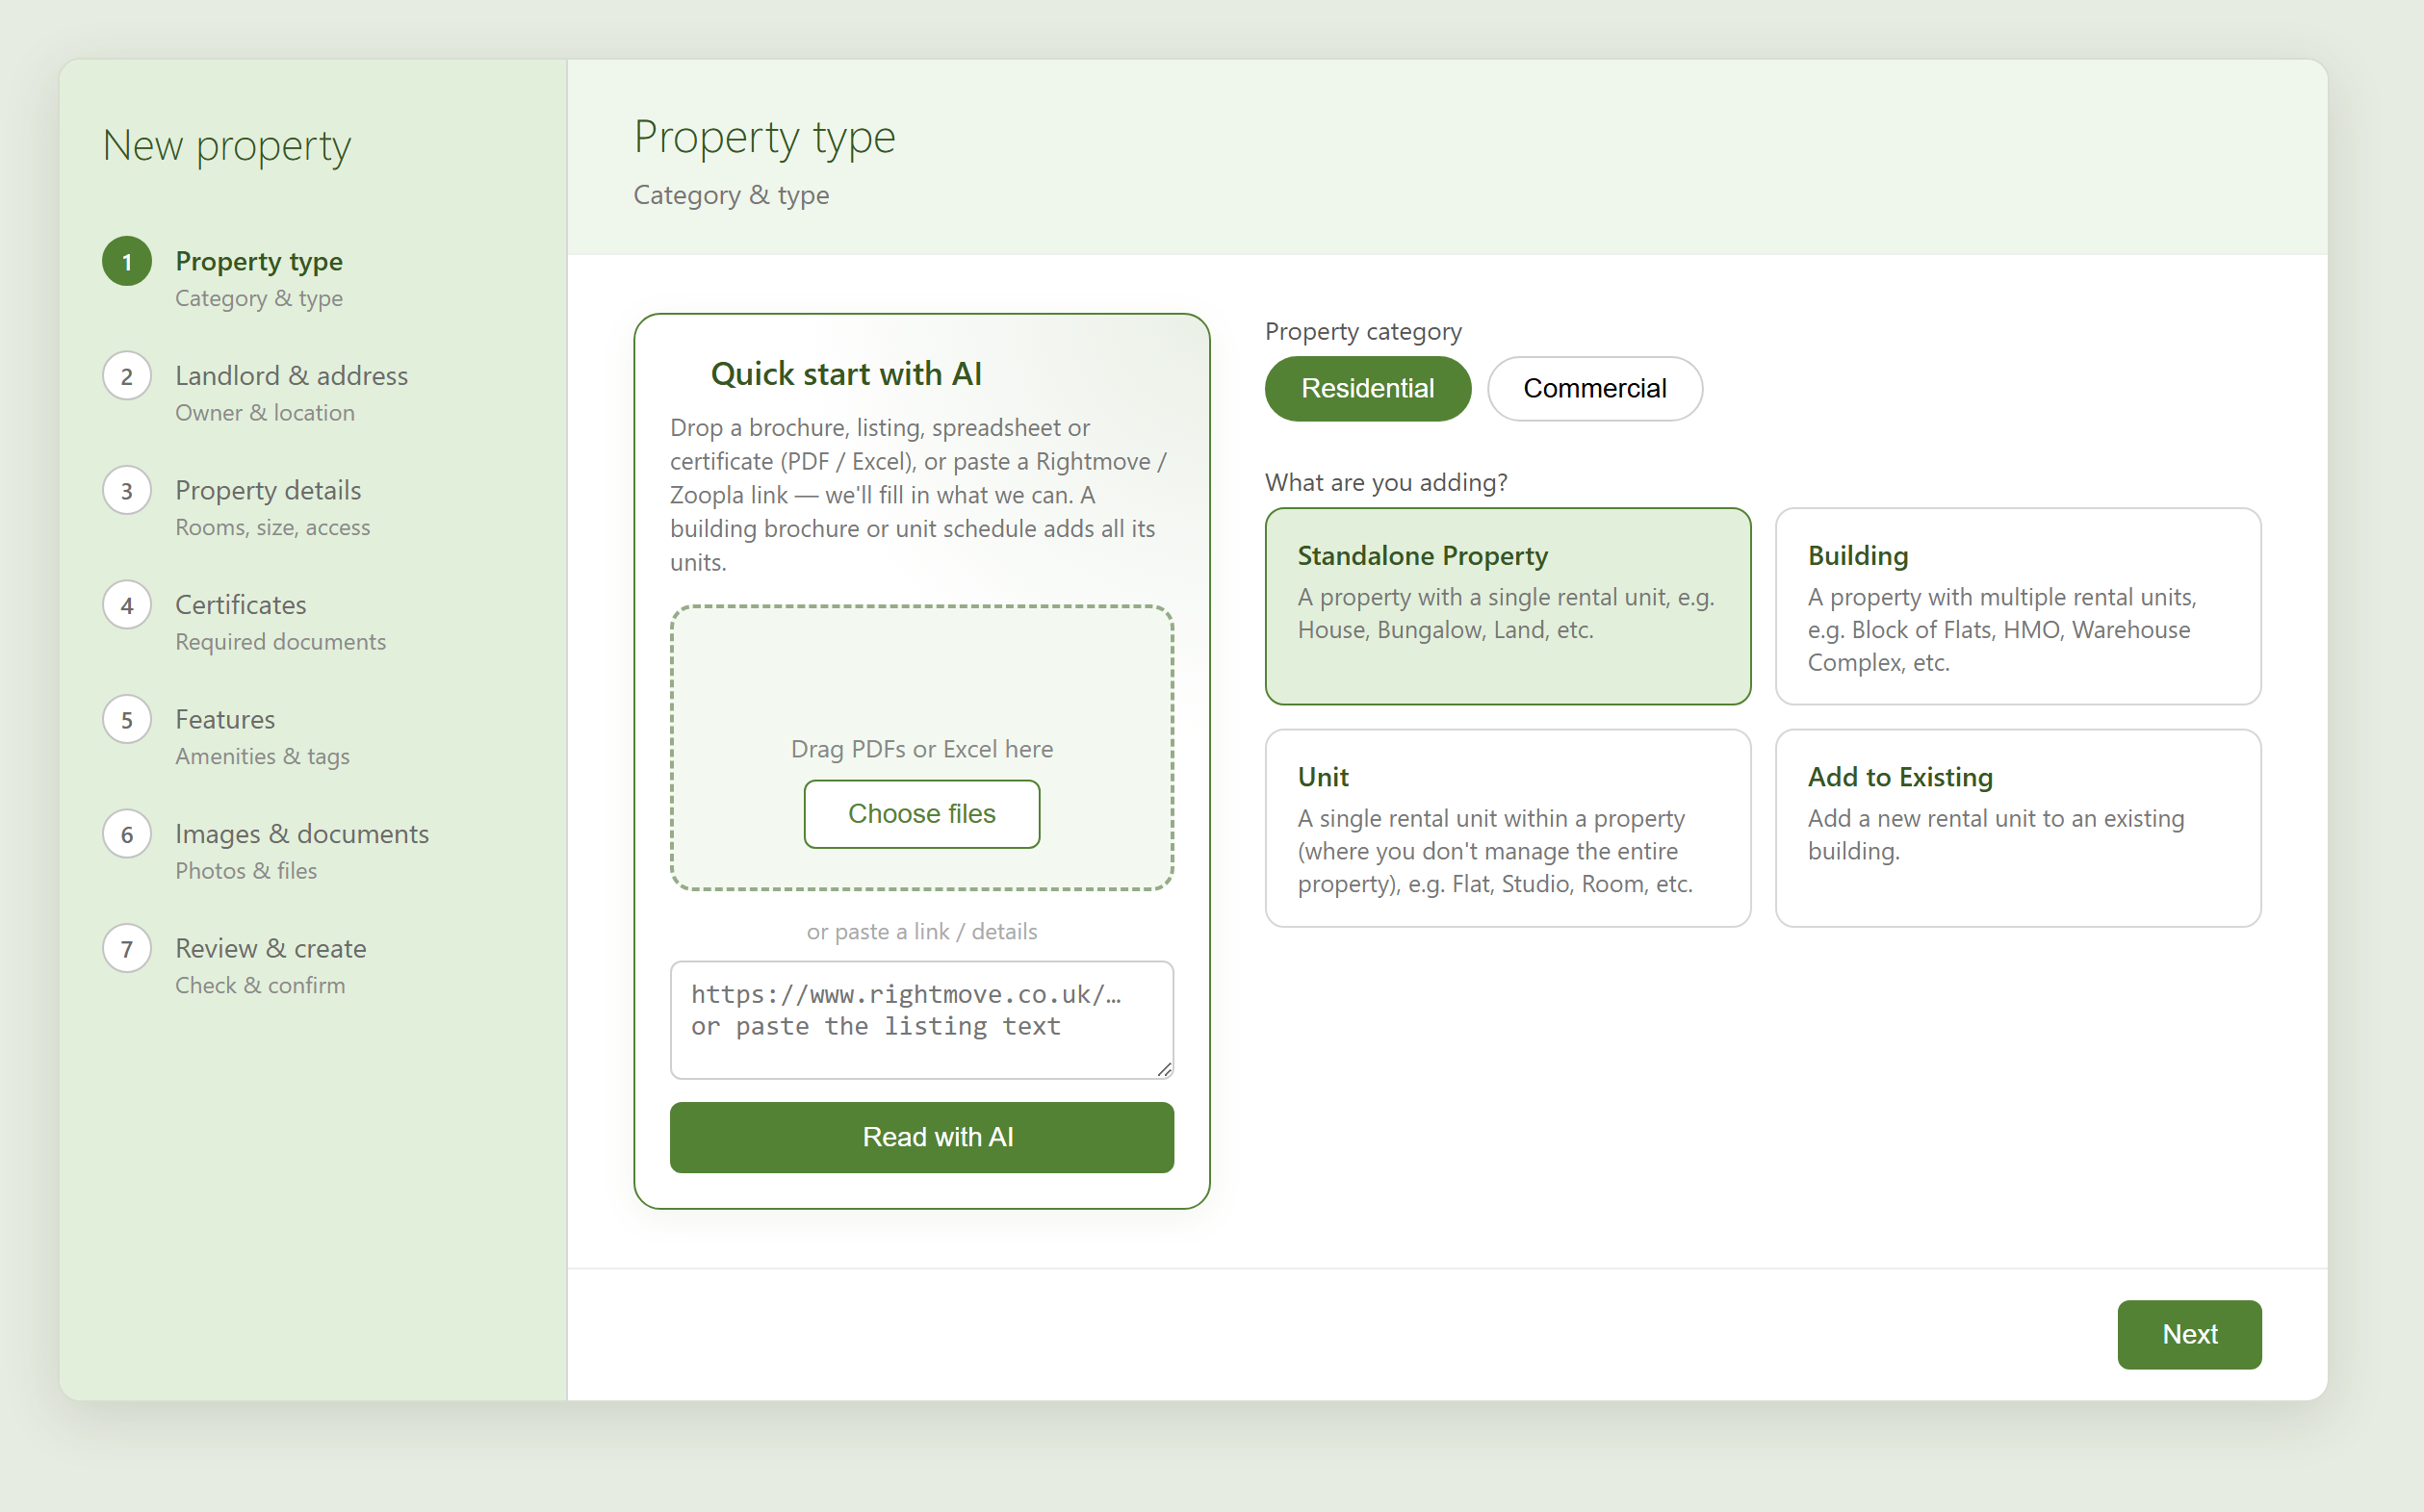
First tell SleekTech what you're adding. This choice decides the rest of the steps.
- Pick the Property category — Residential or Commercial.
- Under What are you adding?, choose one:
- Standalone Property — a property with a single rental unit (House, Bungalow, Land, etc.).
- Building — a property with multiple rental units (Block of Flats, HMO, Warehouse Complex, etc.).
- Unit — a single rental unit within a property you don't manage in full (Flat, Studio, Room, etc.).
- Add to Existing — add a new unit to a building already in SleekTech (see the separate article below).
- Then pick the exact Property type from the cards shown.
Quick start with AI (optional)
On the left of this step is the Quick start with AI panel. It's optional, but it can save a lot of typing.
- Drag in a brochure, listing, spreadsheet or certificate (PDF or Excel), or paste a Rightmove / Zoopla link or the listing text, then click Read with AI.
- SleekTech fills in what it can — type, address, bedrooms, size, features and photos. A building brochure or unit schedule even adds all of its units for you.
- Everything it fills in is only a suggestion — you review and adjust it on the following steps before anything is saved.
Step 2 — Landlord & address
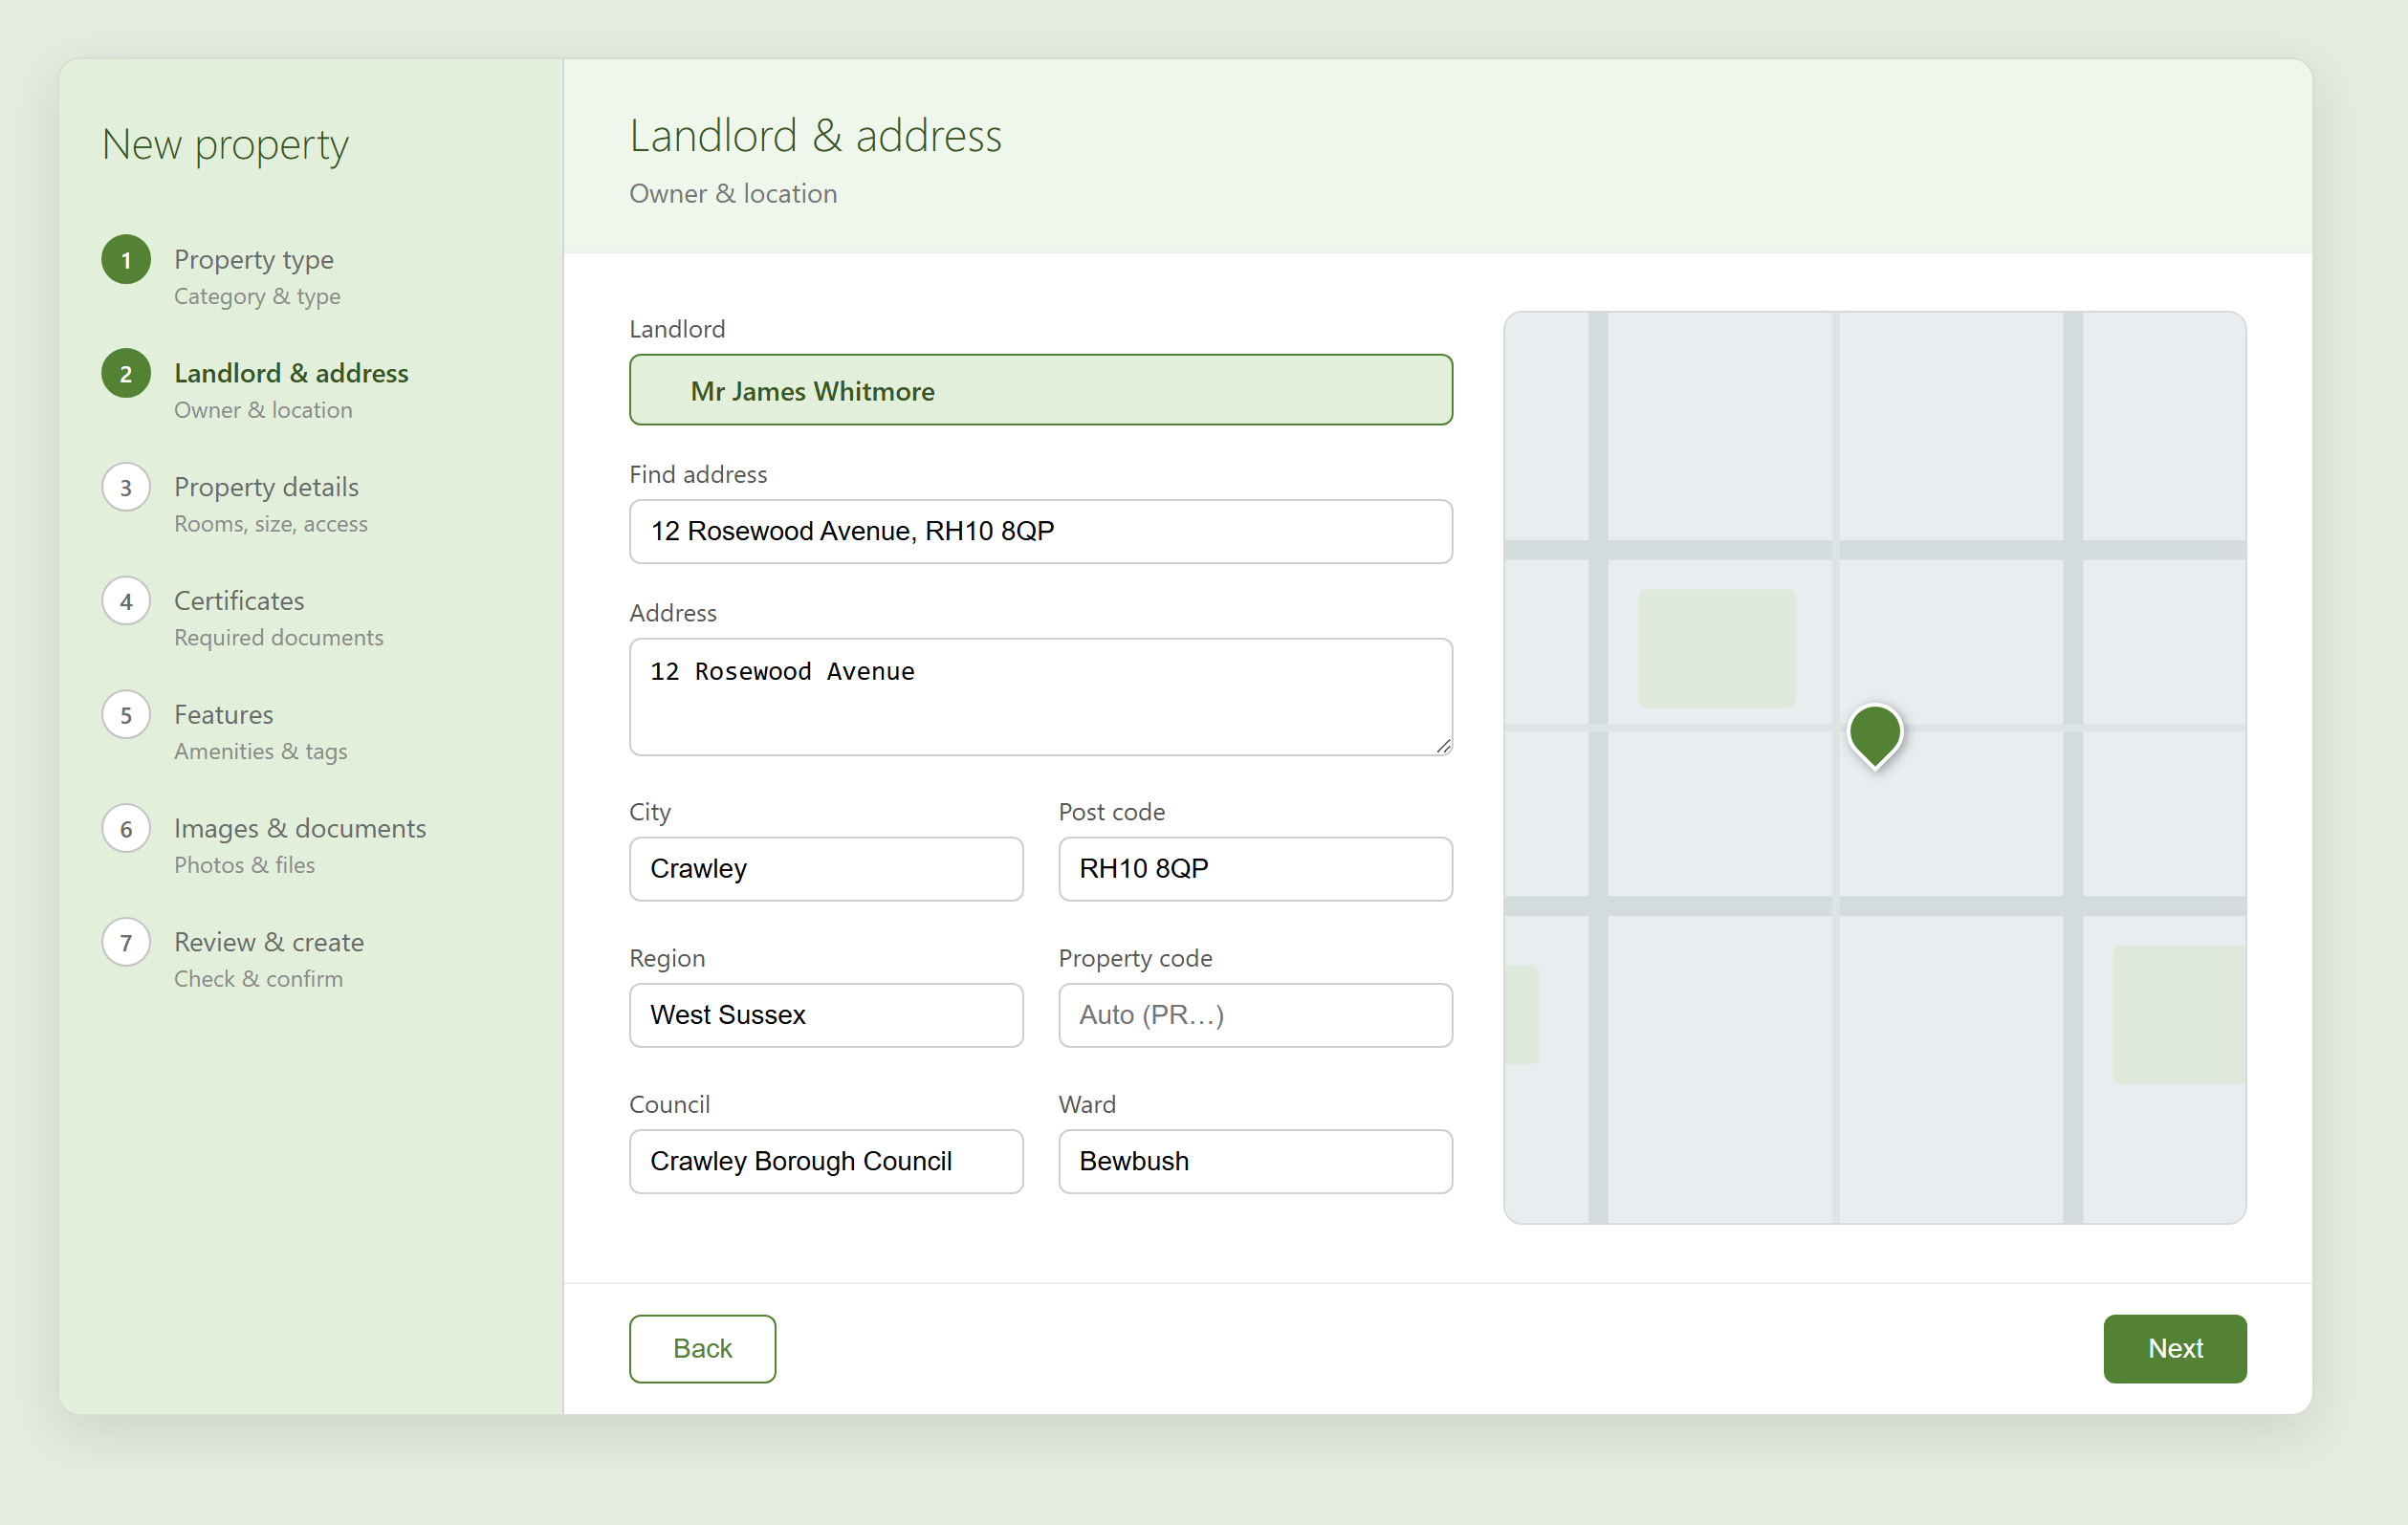
- Choose the Landlord. Start typing to find an existing one, or use the create option in the picker to add a new landlord — including a Companies House search that fills a company's name, number and registered address.
- Use Find address to search by postcode or address. Picking a result fills the Address, City, Post code, Region, Council and Ward, and drops a pin on the map.
- Leave Property code blank to let SleekTech assign the next PR code automatically, or type your own.
- If a property with the same address already exists, a gentle warning appears so you don't create a duplicate.
Step 3 — Details, or units
What you see next depends on the type you chose:
- For a Standalone Property or Unit, fill in Property details — floor, size, bedrooms, bathrooms, and any key or access info.
- For a Building, you get the Units step instead (below).
Adding units (buildings)
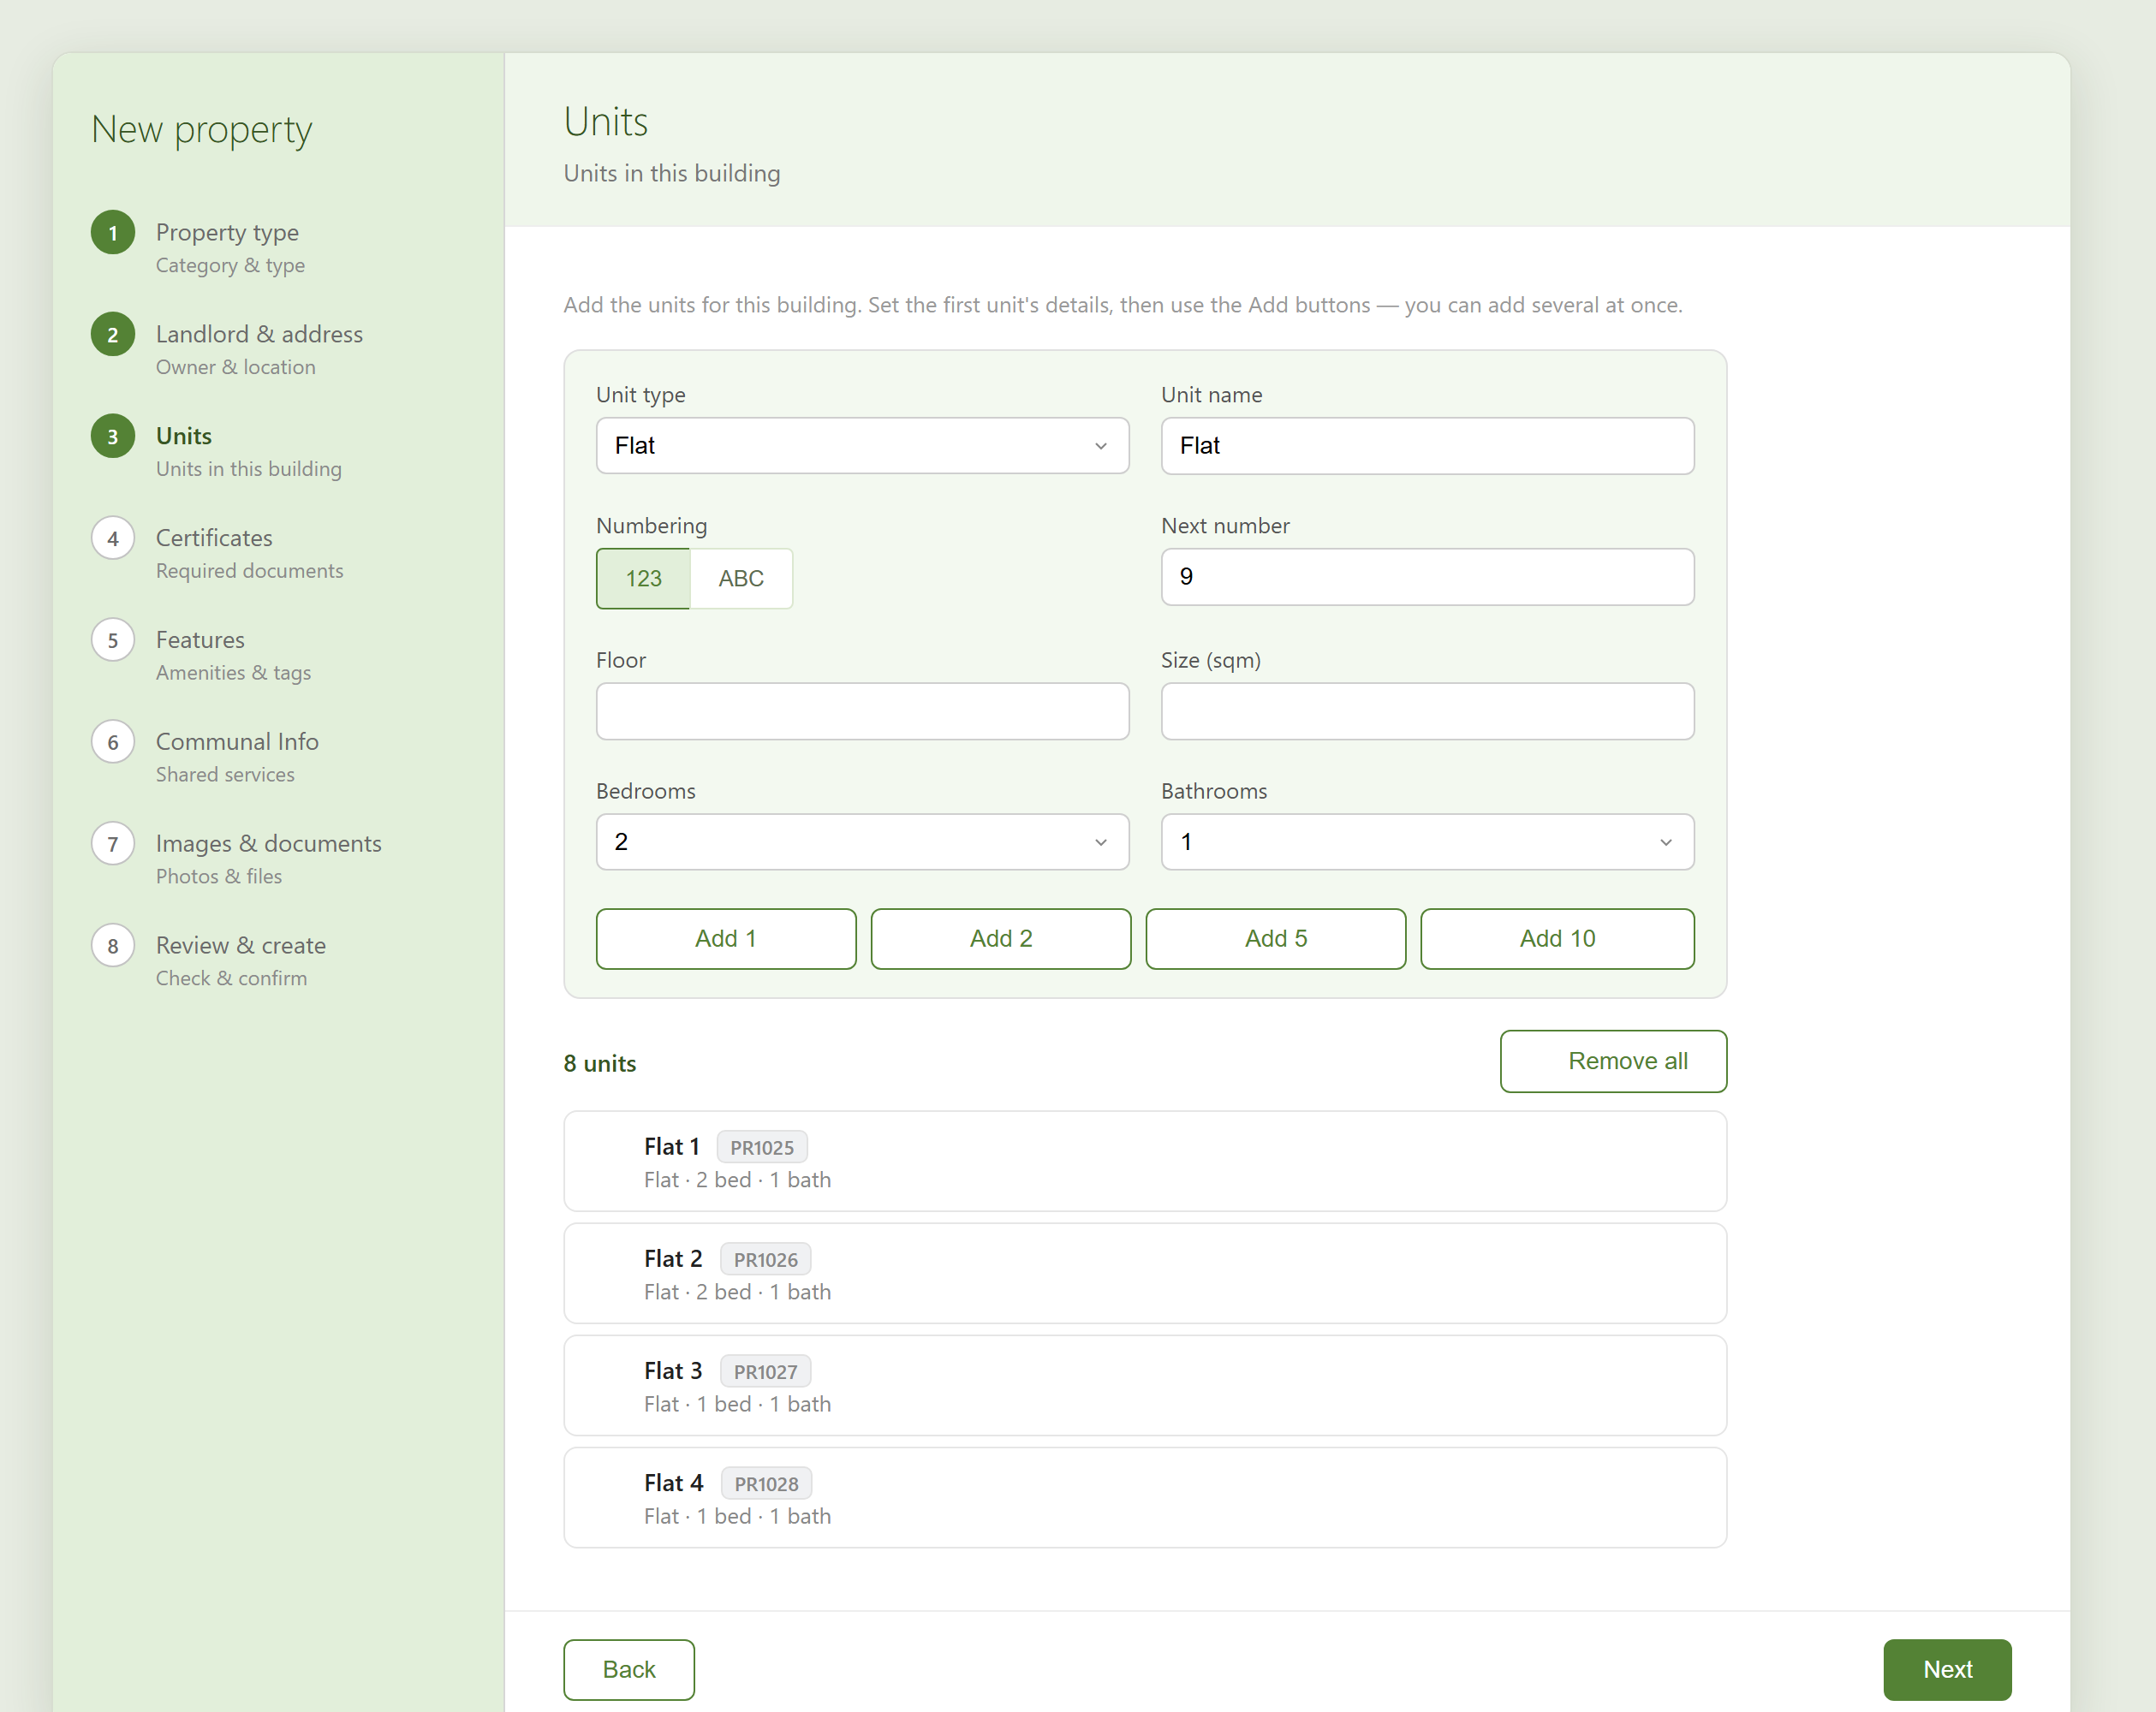
The Units step builds all the units in the building quickly.
- Set the first unit's details — Unit type, Unit name (e.g. Flat), Numbering (123 or ABC) and the Next number.
- Use Add 1, Add 2, Add 5 or Add 10 to create that many units at once — they're numbered for you.
- Each unit appears in the list below with a proposed PR code. Click a unit to edit it, or remove ones you don't need. Remove all clears the list to start again.
The remaining steps
Depending on the type, you'll also see some of these — each is optional and can be changed later on the property:
- Certificates — the certificates usually required for this property are listed for you. Drop a PDF and SleekTech reads the dates, rating, number and issuer, and files it under the right type. Anything you don't attach still shows on your dashboard so you don't forget it.
- Features — pick amenities from your existing list or type a new one to create it. Features the AI suggested are marked with a star.
- Communal Info (buildings only) — shared services like cleaning, lifts or gardening, each with its provider.
- Images & documents — any photos the AI found on the listing appear here; drop in more images or PDFs, and reclassify any image into another folder (e.g. move a floorplan out of Photos).
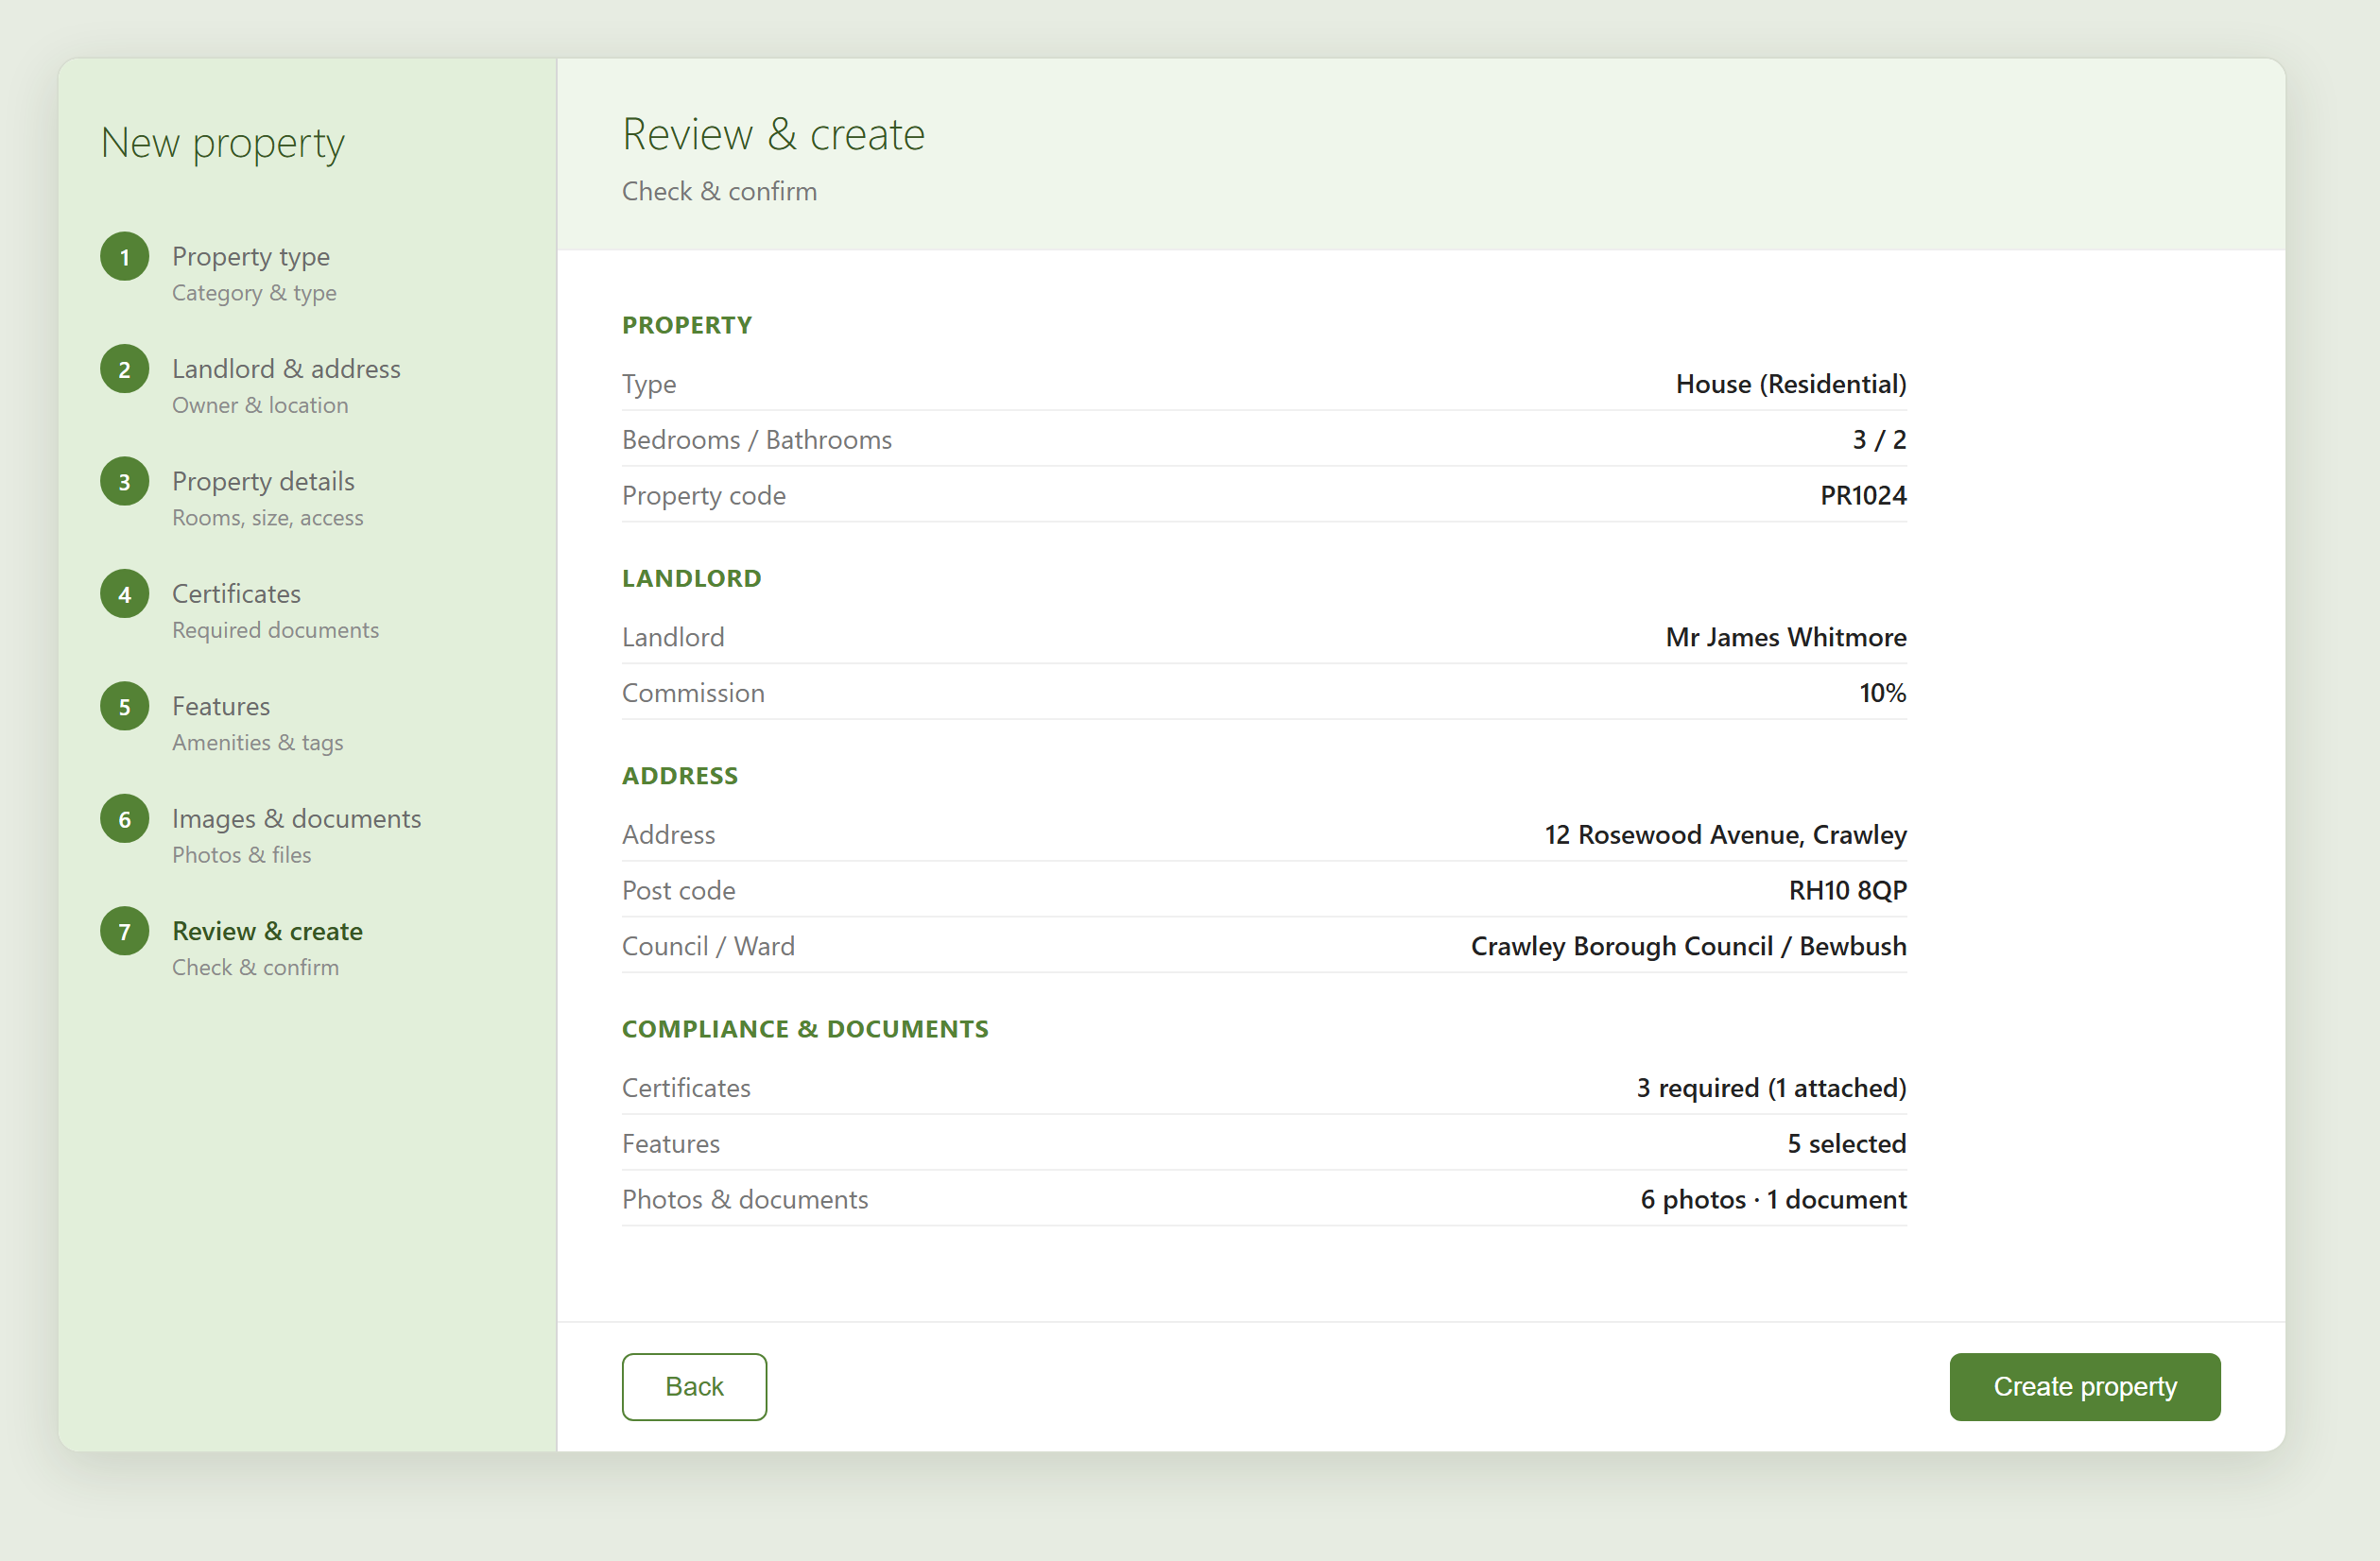
Step — Review & create
- The last step summarises everything — property, landlord, address, certificates, features and documents.
- Check it over, then click Create property.
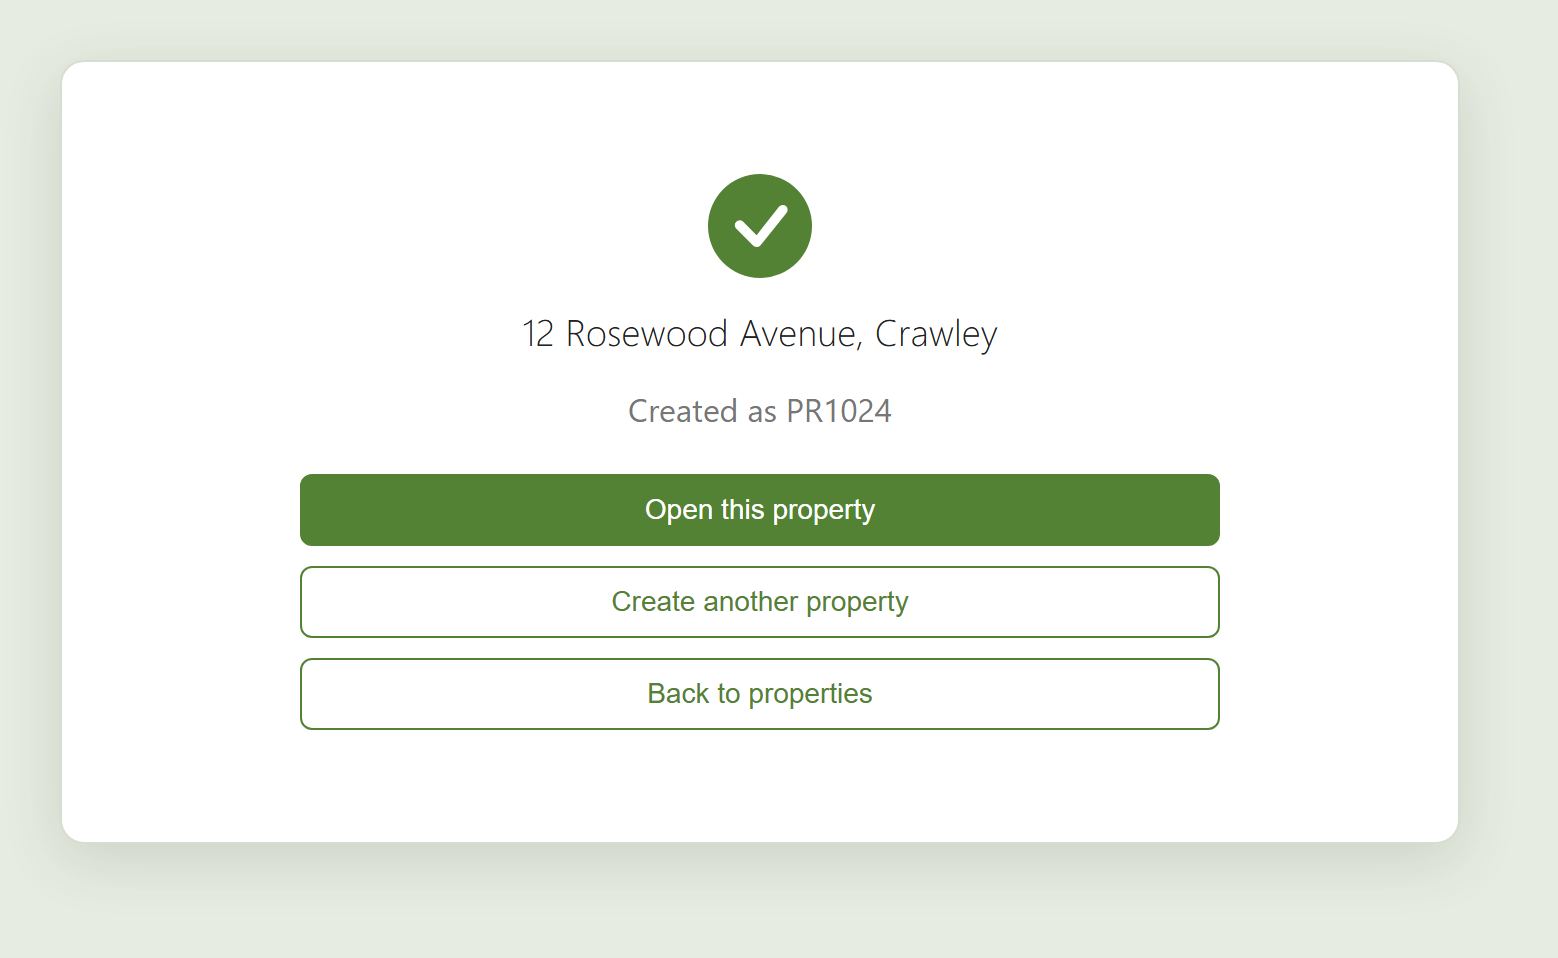
When it's done, SleekTech confirms the new property and its PR code. From here you can Open this property, Create another property, or go Back to properties.